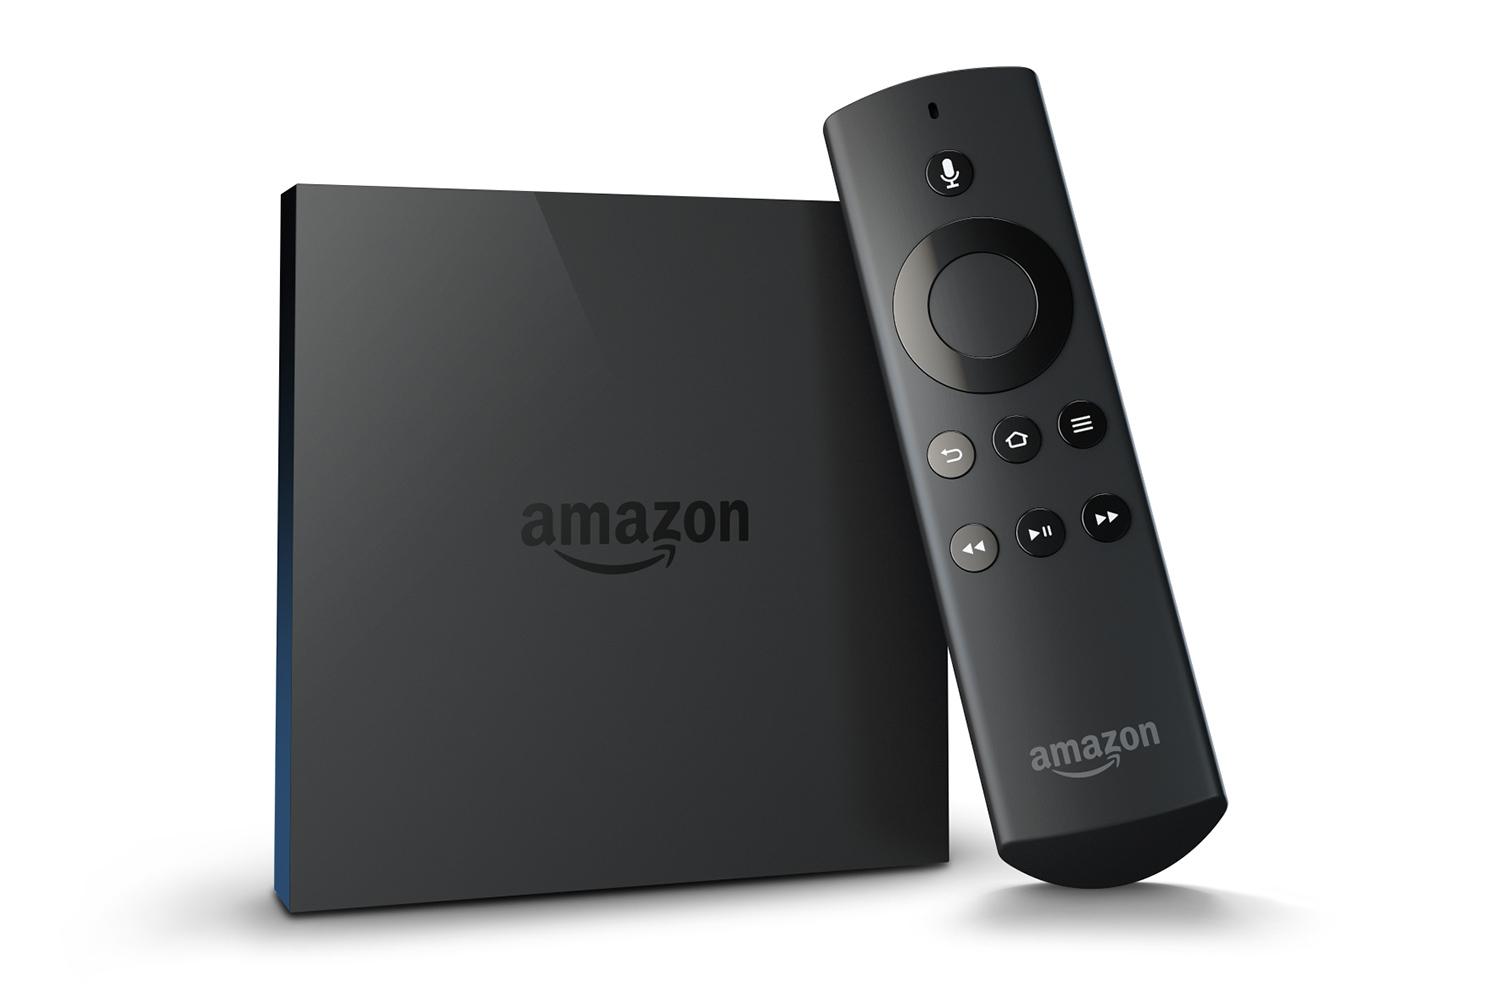
Amazon Firestick is a popular streaming device for IPTV services, offering access to live TV, movies, and on-demand content. However, your Firestick’s performance can be affected by slow DNS (Domain Name System) servers, leading to buffering and delayed channel loading. Changing your DNS settings to a faster, more reliable server can significantly improve your IPTV experience. Here’s a step-by-step guide to help you configure DNS on your Firestick for seamless IPTV streaming. want Buy 6 Months IPTV Subscription
Why Change DNS on Firestick for IPTV?
Changing the DNS on your Firestick provides several benefits for IPTV streaming:
- Faster Streaming Speeds: Reduces buffering and speeds up channel loading.
- Improved Stability: Maintains consistent connections to IPTV servers.
- Access to Geo-Restricted Content: Bypass location-based restrictions for global IPTV content.
- Bypass ISP Throttling: Avoid slowdowns caused by your Internet Service Provider.
- Enhanced Security: Protect against malicious domains with secure DNS providers.
Step-by-Step Guide to Changing DNS on Firestick
1. Check Your Current Network Settings
Before changing your DNS, you need to note down your Firestick’s network details.
- Navigate to Settings from the Firestick home screen.
- Select My Fire TV (or Device depending on your version).
- Go to About > Network.
- Note down the following details:
- IP Address
- Gateway
- Subnet Mask
2. Choose a DNS Provider
Select a reliable DNS provider for your Firestick. Here are some popular options:
- Google DNS:
8.8.8.8and8.8.4.4(free and fast). - Cloudflare DNS:
1.1.1.1and1.0.0.1(privacy-focused). - OpenDNS:
208.67.222.222and208.67.220.220(security-focused).
3. Disconnect from Wi-Fi
You’ll need to reconfigure your network settings manually.
- Go to Settings > Network.
- Select your current Wi-Fi network.
- Press the Menu button on your remote (three horizontal lines).
- Choose Forget This Network.
4. Reconnect to Wi-Fi with Manual Configuration
- Select your Wi-Fi network from the list of available networks.
- Enter your Wi-Fi password but don’t press Connect yet.
- Instead, select Advanced.
- Enter the following details manually:
- IP Address: Use the IP address you noted earlier or choose one close to it (e.g., if your IP is
192.168.1.2, use192.168.1.50to avoid conflicts). - Gateway: Enter the same gateway address noted earlier.
- Subnet Mask: Typically
255.255.255.0(use the value noted earlier if different). - DNS 1 (Primary DNS): Enter the primary DNS server address (e.g.,
8.8.8.8for Google DNS). - DNS 2 (Secondary DNS): Enter the secondary DNS server address (e.g.,
8.8.4.4for Google DNS).
- IP Address: Use the IP address you noted earlier or choose one close to it (e.g., if your IP is
- Save your settings and connect to the Wi-Fi network.
5. Test Your New DNS Settings
To ensure your DNS changes are working properly:
- Open a streaming app or your IPTV app on Firestick.
- Check if the channels load faster and buffering is reduced.
- Use an online DNS leak test or diagnostic tool to confirm the active DNS server.
Troubleshooting DNS Issues on Firestick
If you encounter issues after changing your DNS:
- Double-Check Settings: Ensure the IP address, gateway, and DNS entries are accurate.
- Restart Your Firestick: Reboot the device to refresh the network settings.
- Test Different DNS Providers: If one DNS service doesn’t improve performance, try another (e.g., switch from Google DNS to Cloudflare DNS).
- Reset Network Settings: If problems persist, forget the Wi-Fi network and reconfigure it from scratch.
Best DNS Providers for IPTV on Firestick
Here are the top DNS providers you can use for better IPTV performance:
- Google Public DNS: Fast and reliable for general streaming.
- Primary:
8.8.8.8 - Secondary:
8.8.4.4
- Primary:
- Cloudflare DNS: Low latency with privacy protection.
- Primary:
1.1.1.1 - Secondary:
1.0.0.1
- Primary:
- OpenDNS: Provides security features like malware blocking.
- Primary:
208.67.222.222 - Secondary:
208.67.220.220
- Primary:
- Smart DNS Proxy: Great for unblocking geo-restricted IPTV content (requires a subscription).
- DNS servers provided upon registration.
- Quad9 DNS: Focused on security and blocking malicious domains.
- Primary:
9.9.9.9 - Secondary:
149.112.112.112
- Primary:
Benefits of Changing DNS for IPTV on Firestick
- Faster Loading Times: Custom DNS servers resolve IP addresses faster, reducing lag.
- Better Streaming Quality: Eliminate buffering and interruptions.
- Global Content Access: Stream IPTV content from other countries without restrictions.
- Privacy and Security: Protect your data from ISP tracking and phishing attacks.
- Cost-Effective Optimization: Improve performance without upgrading your internet plan.
Conclusion
Changing your DNS on Firestick is a simple yet effective way to enhance your IPTV streaming experience. With faster connections, fewer interruptions, and the ability to access geo-restricted content, a custom DNS configuration ensures seamless IPTV performance. Follow the steps outlined in this guide and choose a reliable DNS provider to optimize your Firestick for IPTV.
How to Sync IPTV with Wearable Devices


